HOME OFFICE · SAMPLE PLAN
Home office and stockroom
A four-hour plan to clear the work path and desk, then organize two busy storage shelves using existing boxes and trays.
Illustrative example. Sortwise builds each plan from the photos and instructions you provide.
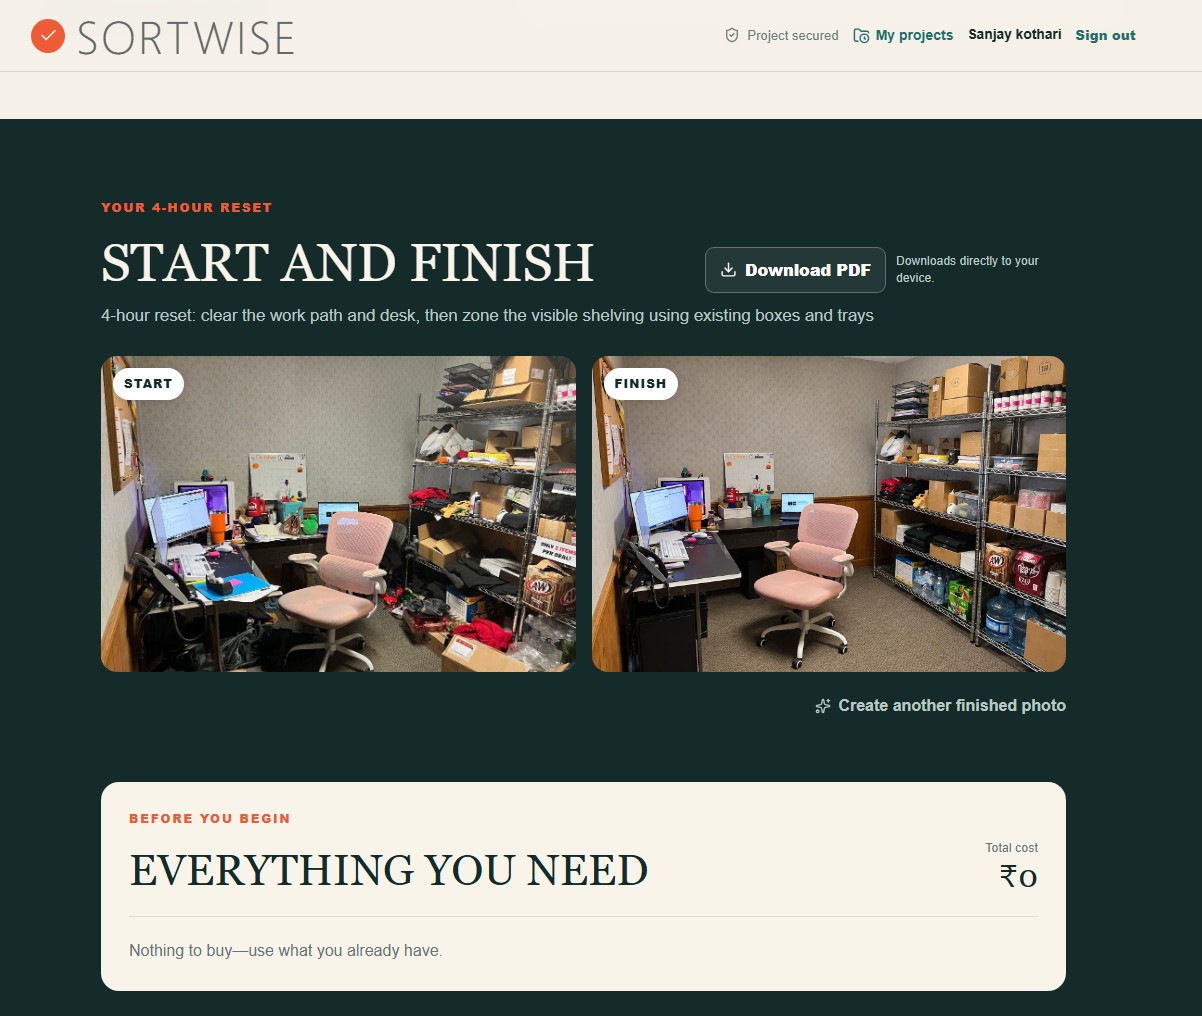
WHAT SORTWISE NOTICES
Start with what is visible.
- The desk and nearby floor are crowded, narrowing the route to the chair and shelves.
- Two shelving units hold a mixture of papers, textiles, packing materials, stock, and drinks.
- Some labels and handling signs are visible, so the plan keeps stock types and fragile items together.
FOLLOW IN ORDER
A practical plan, step by step.
- 1
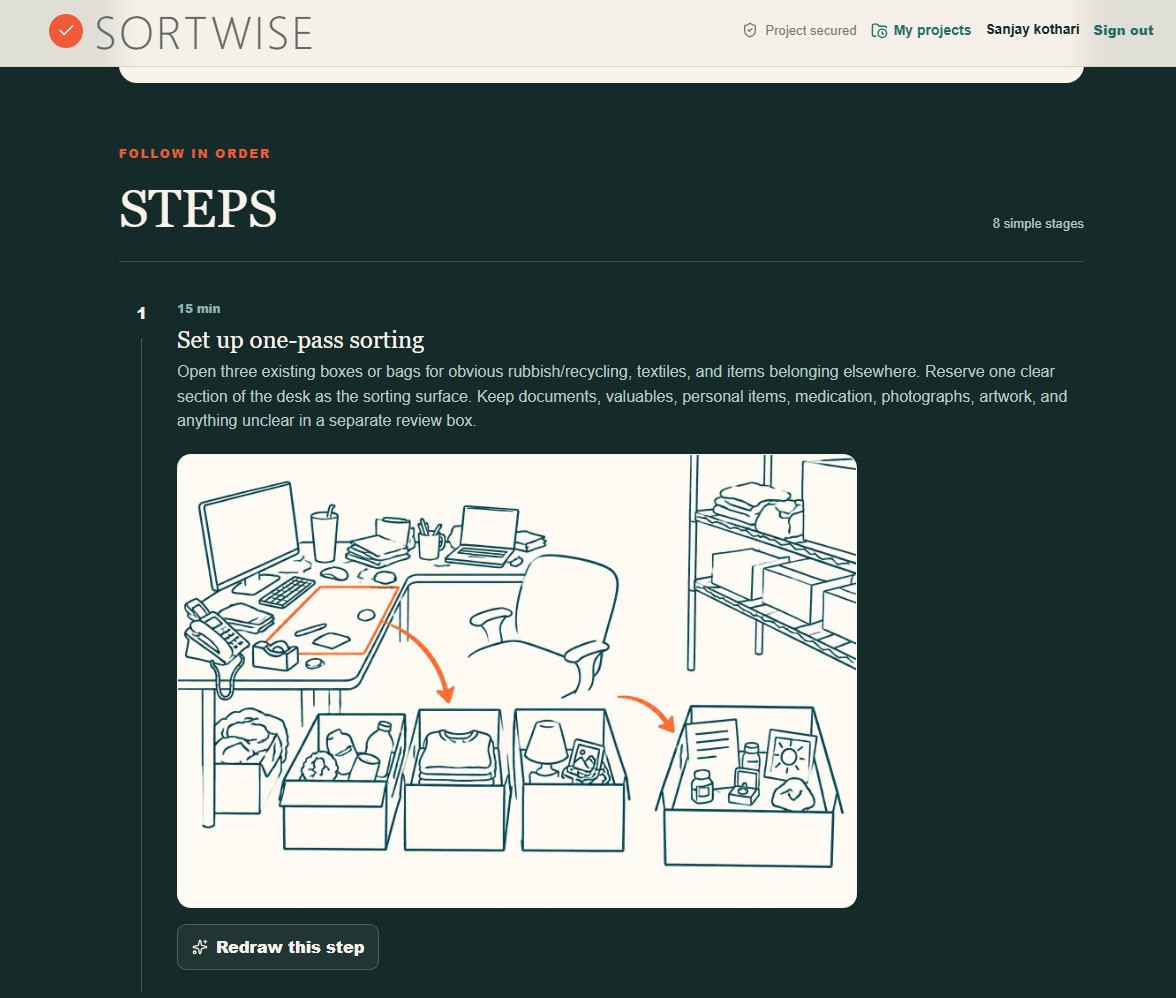
Set up one-pass sorting
15 minUse existing boxes or bags for clear rubbish, textiles, and items belonging elsewhere. Reserve a desk section as a sorting surface. Keep papers, valuables, personal items, medication, photographs, artwork, and anything unclear in a separate review box.
- 2
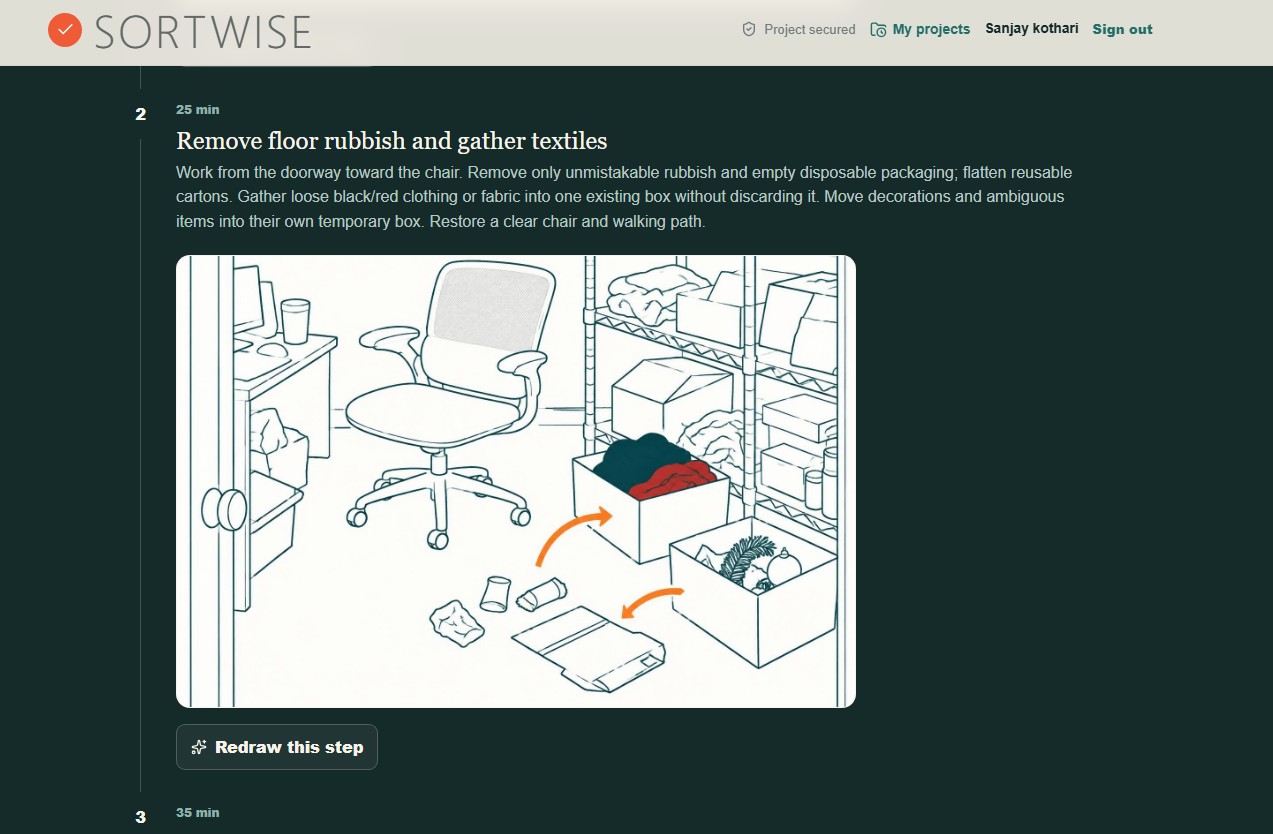
Clear floor rubbish and gather textiles
25 minWork from the doorway toward the chair. Remove only obvious rubbish and empty packaging; flatten reusable cartons. Gather loose clothing or fabric in one box without discarding it. Restore a clear chair and walking path.
- 3
Reset the desk
35 minClear the work surface in one pass. Keep daily tools within reach and collect papers in one review tray so important or uncertain documents are not discarded.
- 4
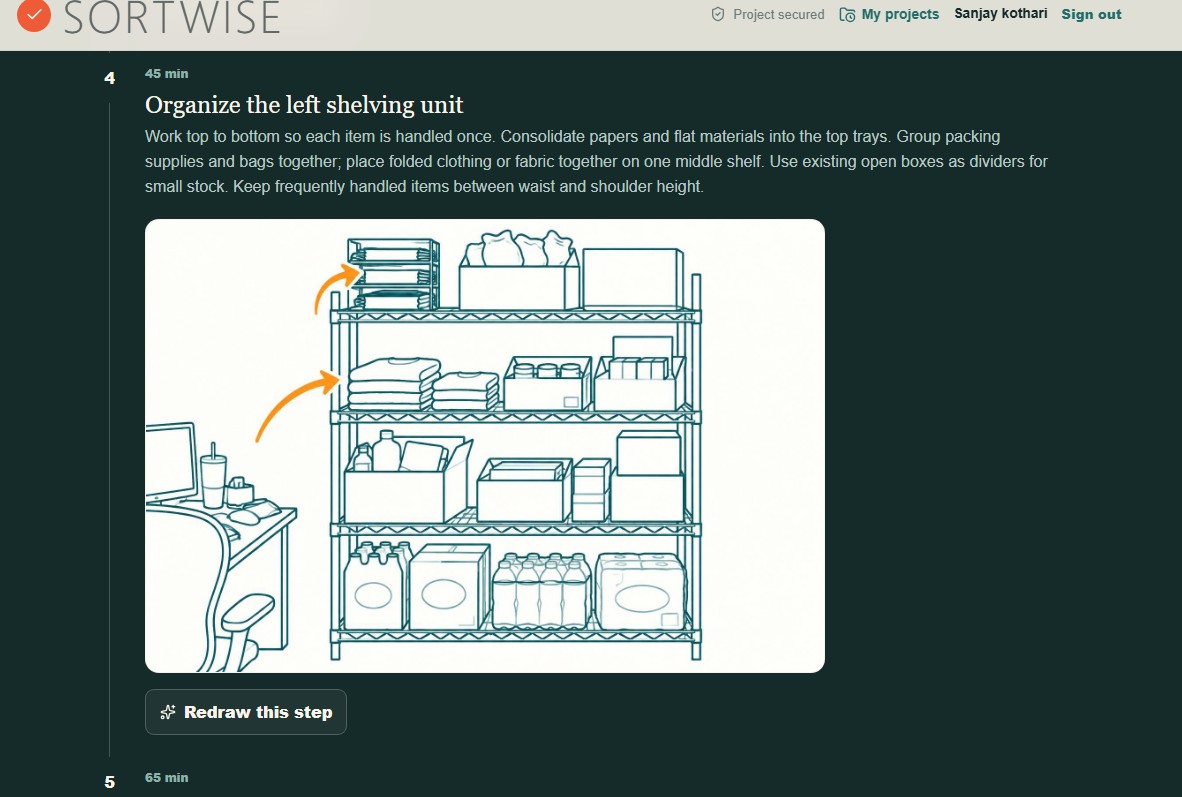
Organize the left shelving unit
45 minWork top to bottom. Consolidate papers and flat materials into trays, group packing supplies together, and use existing open boxes as dividers. Keep frequently handled items between waist and shoulder height.
- 5
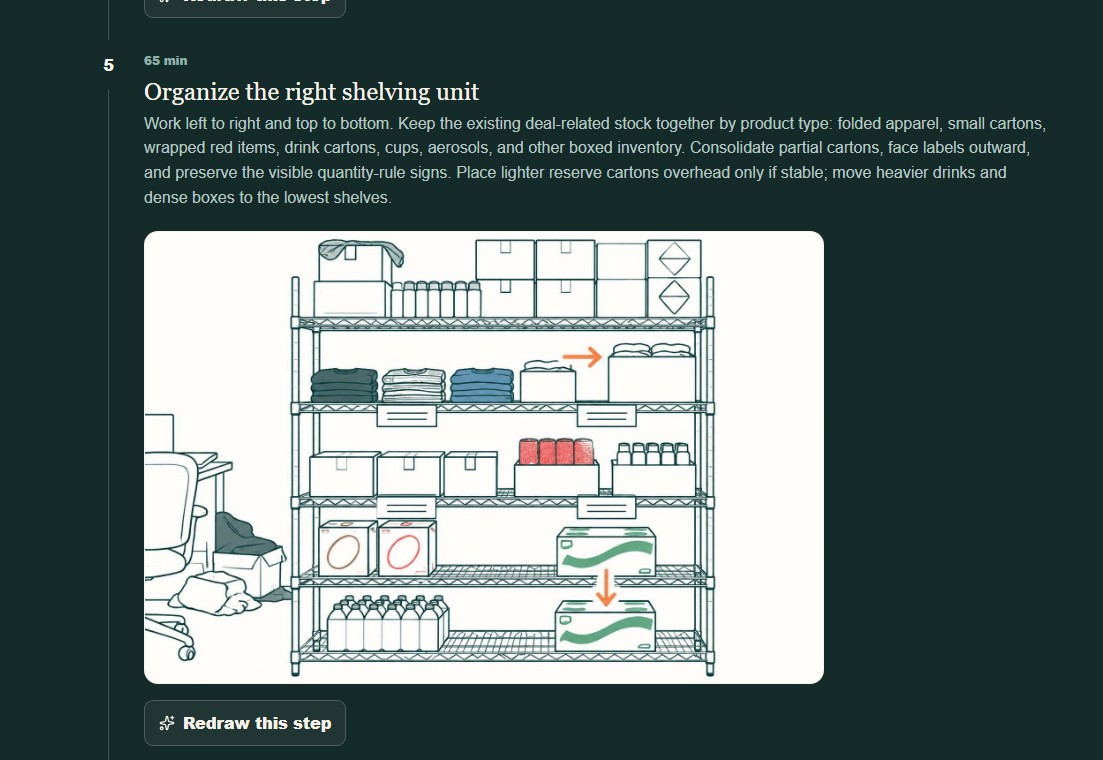
Organize the right shelving unit
65 minGroup stock by product type and keep visible quantity-rule signs. Face labels outward, place stable light reserve cartons high, and move heavier drinks and dense boxes to the lowest shelves.
- 6
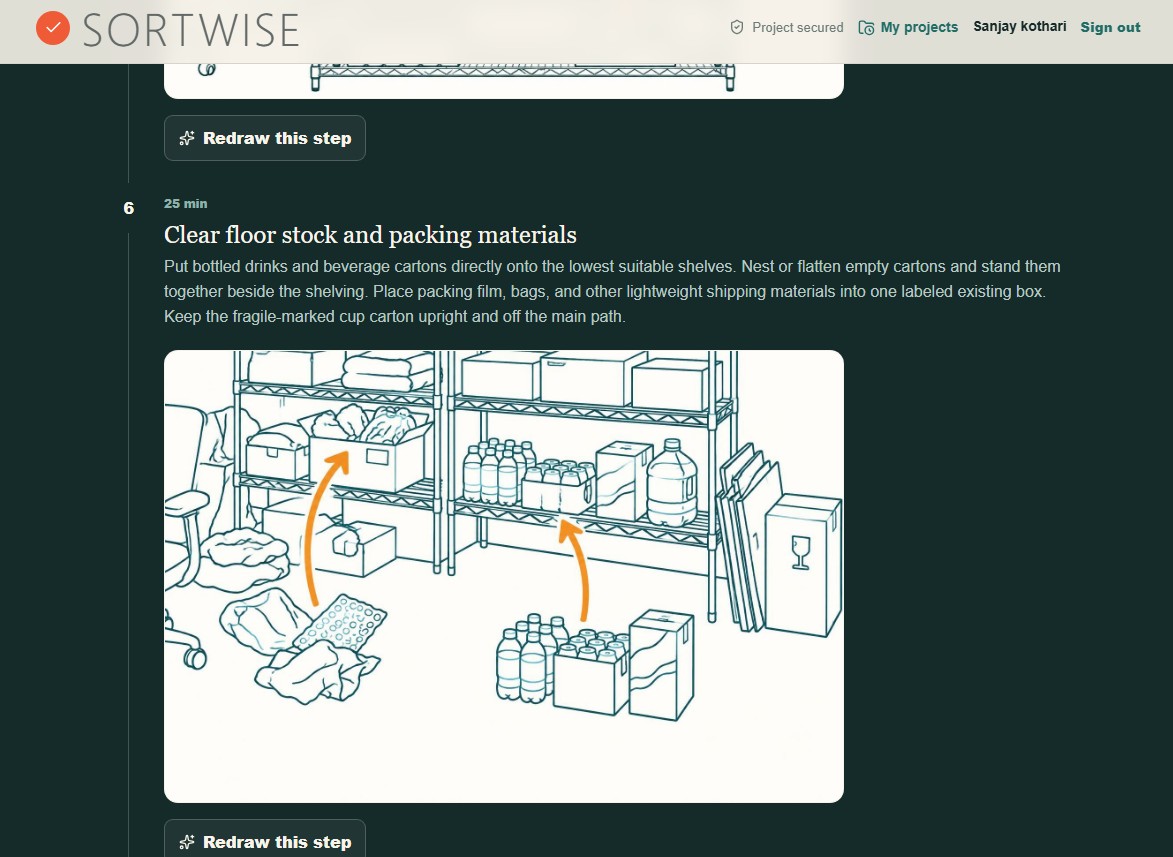
Clear floor stock and packing materials
25 minMove bottled drinks and beverage cartons onto the lowest suitable shelves. Nest or flatten empty cartons and gather packing film and bags in one existing box. Keep the fragile-marked cup carton upright and off the path.
- 7
Consolidate loose items
20 minReturn remaining textiles, small supplies, and boxes to their assigned shelf groups. Keep anything whose contents are unclear in the review area.
- 8
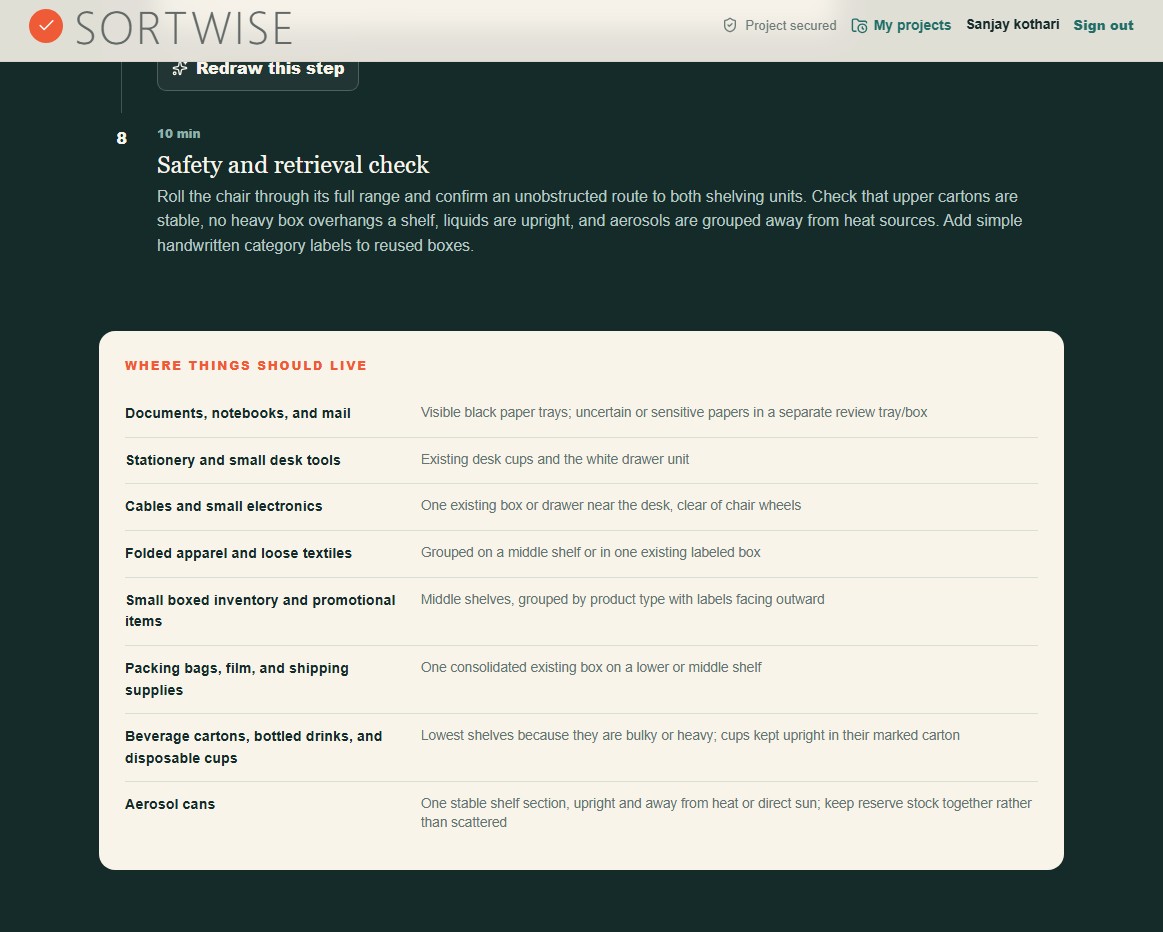
Check safety and retrieval
10 minTest the chair and walking route. Confirm upper cartons are stable, liquids are upright, heavy boxes are low, and aerosols are grouped away from heat. Add simple labels to reused boxes.
PLAN VISUALS
See the plan in action.
WHERE THINGS SHOULD LIVE
A place for each group.
A clear route through the room, a usable desk, and stock grouped on shelves by type and weight.
YOUR TURN
Start with a photo.
Your first one-photo organizing project is free.
Organize a space